Fundamentals: Fire Circuit Pre-Wire Box Trim
During a pre-wire, it is preferred to prep the wires for the final device installation and to wire-nut through the circuit. This practice provides several benefits.
First, when you cut the wire to length, strip the jacket and insulation you are leaving the wire ready for the final device installation. When the devices are installed, there is no wire stripping required. There is no scrap wire or jacket to clean up.
Second, when you wire-nut the circuit through (nut-through), the circuit can be tested to verify circuit integrity. By installing an end-of-line resistor, the integrity of the circuit can be tested periodically throughout the building process.
Third, by leaving only the length required for trim, and coiling the wire into the back of the box you virtually eliminate the chance of wire damage from sheetrock cutting tools.
Forth, by unwrapping the negative and positive leads you allow for a toner signal to better radiate off the wire. Should the box be covered up by drywallers, you have a far better chance of hearing a tracer tone with the wires unwrapped and separated.
The pictures below are of a NAC circuit, but the practice applies to all firewire boxes.
To start your wire prep, cut the wire a few inches longer than needed, about 15 inches. If you feel you need to leave more wire in case the box needs to be moved, coil the extra wire and secure it in the wall or ceiling, not the box.
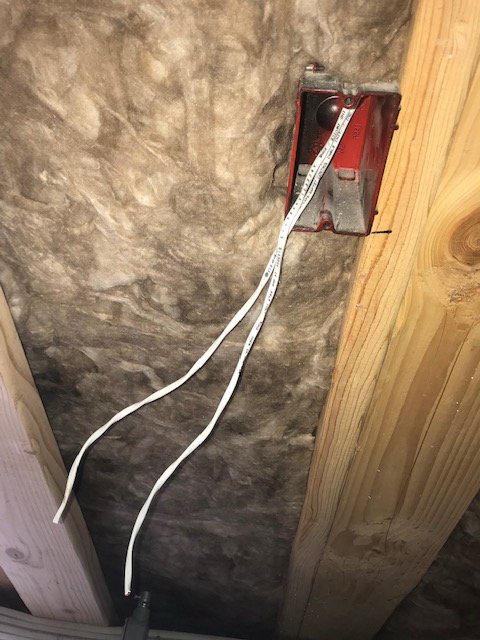
Strip a few inches of the jacket to expose the string inside. Use the string to split the jacket all the way to the box. Once the firewire is inside the box the jacket is not needed and only makes it harder for you to manage the wires. Cut the jacket and string off.
Best Practice: Using your wire strippers or side cutters to strip the jacket works far less often than most wished it did, especially on 14/2 with a tight jacket. Sooner or later you will have a nick in the wire insulation that goes to ground. It is best practice to use the string.
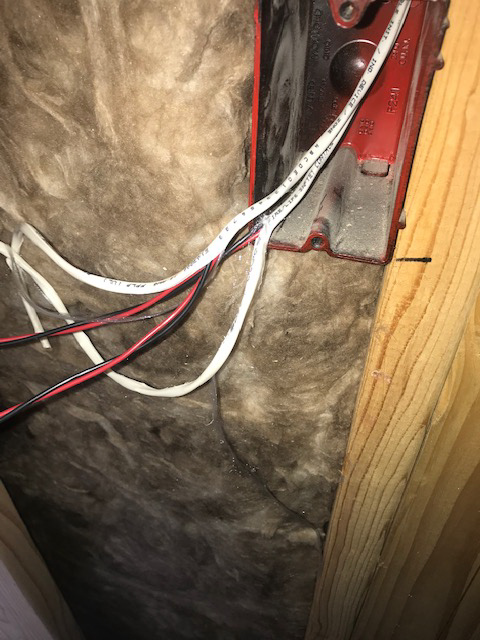
Cut a few inches off the wire to remove any potential nicks in the wire from when you removed the jacket. Unwrap the leads and strip the ends of the wires.
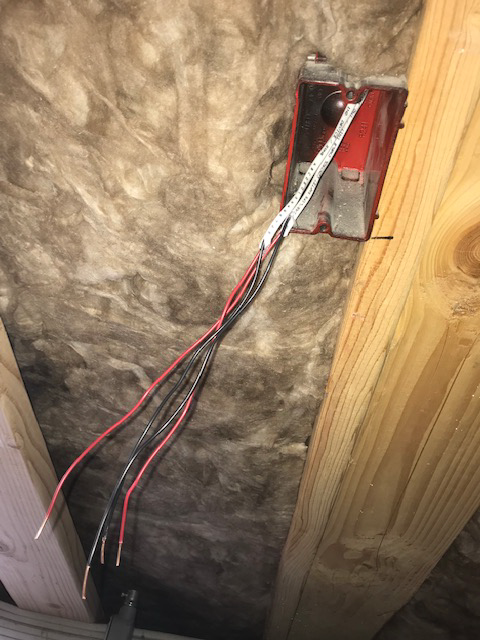
By unwrapping the conductors you make it easier to install the device later. When you install the wire nuts, do not get too aggressive in twisting the wire nut. You only need to make sure the wires are touching and the wire nut will not fall off. You do not want to actually twist the wire around each other. This makes it harder to trim the device later. You should be able to remove the wire nut and have the wires easily separate.
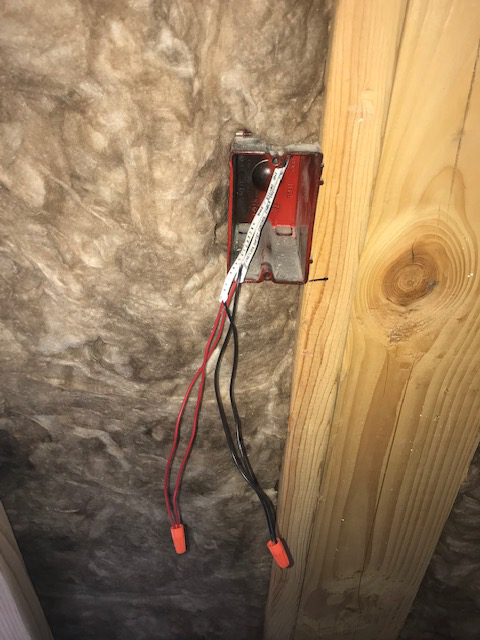
To place the wire into the box, start by pushing the wire to the back of the box and coiling the wire in. Never fold fire wire. Coils are better for insulation.
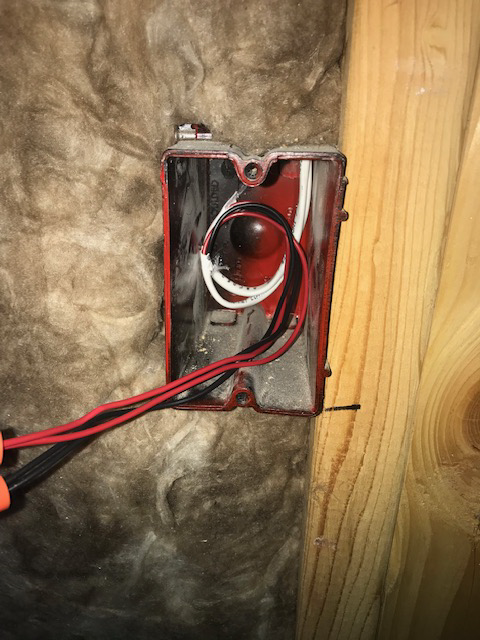
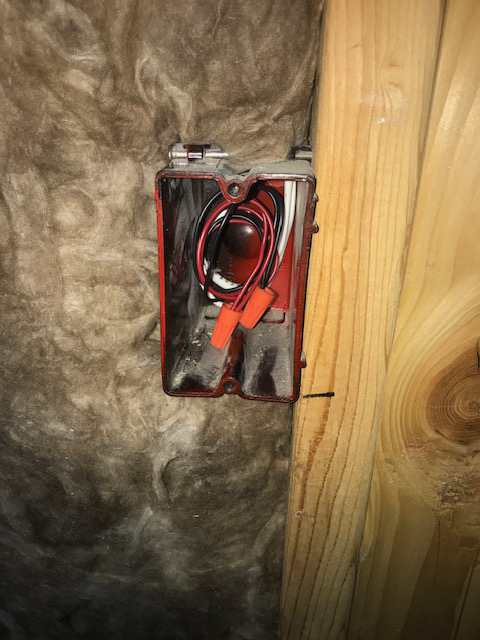
When you are done, the wire should be safely tucked in the back 1/2 of the box out of reach of a drywaller's rotary sheetrock cutter.
When you come back to trim, all you need to do is remove the wire nuts, wire to the device, and install. No wire stripping or mess to clean up.