Introduction To Electrical Boxes
Electrical boxes come in many shapes, sizes and materials. In many cases, there are several correct options, each with advantages, disadvantages, and costs to consider. This article will cover the most common boxes used by low-voltage electricians.
Regardless of which box you select, a key factor when installing an electrical box is to set the box or select a mud ring that matches the planned thickness of the wall material AND set it level.
Top Reasons For Setting Boxes Correctly
1. A box that is not set at the proper depth is far more likely to be covered by sheet rockers. If you do not notice the covered box until it's time to trim, you may have to expose the box yourself. Locating and exposing a buried box takes time and is not always successful the first time. If wall repair is required after exposing the box, the contractor has to be informed, which is rarely a pleasant conversation.
2. Not all devices or trim plates installed on boxes have the ability to adjust for a crooked box. Taking the time to set the box or mud ring level allows for a faster, smoother better looking finished job.
3. A box with the mounting screw holes set more than 1/2" back from the finished surface will often require longer screws than what is provided with the trim device. This adds time and materials to carry and use longer screws. In cases where the trim device uses stainless screws, it takes even more time and cost to purchase and install the longer screws.
4. Sheetrockers often use a plunge-cutting rotary tool that rides along the inside lip of the box as they cut the hole. When a box or mud ring is set too far back, they have to freehand the cut. This will often lead to a hole larger than necessary and potentially cannot be covered by our device. After the device is installed someone has to come back and repair the wall. Even though we may not be directly responsible for the repair, it is not uncommon for us, or someone, to remove the device so the repair can be made. This takes time for us, the contractor to track the repair, the drywaller to fix the wall and the painter to paint the wall, then we have to reinstall the device.
All of these issues can be greatly avoided if you take the time to set the box correctly or select a mud ring appropriate for the finished wall.
Selecting 1 gang or 2?
When selecting the size of the box or mud ring, there are 2 main factors to consider;
1) Does the device intend for the location install inside the box or surface mount? If the device sets inside then it is critical to install the appropriate size box. If the device is surface mounted and will install on a single gang box, choose a single gang box. Even if the device covers a 2 gang opening, there is a chance the sheet rockers may over-cut the hole. An over-cut hole brings in reason number 4 from the prior list.
2) How many wires are planned to terminate within the electrical box? This is a decision for the project manager or journeyman.
Common Electrical Boxes
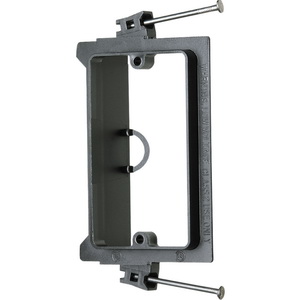 Low Volt Nail-Up Mud Ring
The low-volt mud ring is not a box but has a few locations where it is allowed. However, due to increasingly stricter building energy and fire codes, it has fewer suitable applications than it has in the past.
Low Volt Mud Rings cannot be used in the following applications:
1) Any Fire System Installation, except where the wires are exiting a wall to enter an enclosure or fire panel.
2) Any Fire Barrier or Fire Wall Assembly for any application.
3) In many jurisdictions it becoming common to not allow low volt mud rings on exterior walls.
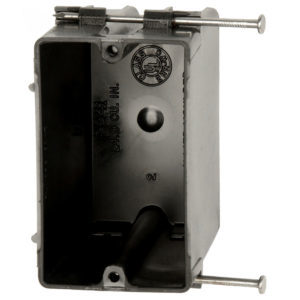
1 Gang Plastic Nail-Up Box
Suitable for almost all applications, a plastic nail-up box can be used for FIRE (when painted red), CCTV, Access Control, and Data. With a "2HR" marking inside the box, the box can be used in a 2 fire-rated barrier. The marking will also have a W for the wall or C for the ceiling or both.
Notches on the side of the box aid in setting the box for the required depth.
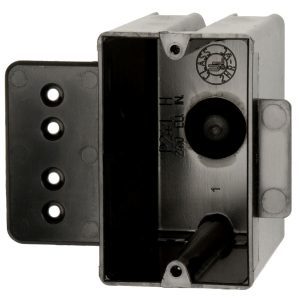
1 Gang Face Mount Box
In tight stud spacing, it is not always easy to set a nail-up box. You should always have a few of these boxes on site for locations where you cannot set a nail-up box. These boxes are not available for double sheetrock layers found in a fire barrier. Even though the back of the box is marked with a 2HR rating, it should not be used in a 2-hour fire barrier.
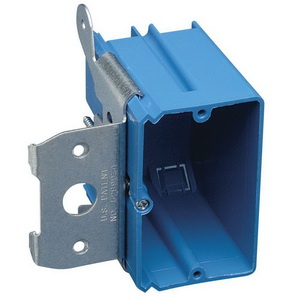
1 Gang Adjustable Electrical Box
Adjustable boxes provide the same face mounting ability as the box above, but the adjustable design does allow this box to be used in a 2 HR assembly. After setting the box, set the depth to the desired wall thickness plus a little more.
These boxes are also handy when installed in locations expected to be tiled or behind cabinets. You should always have a few of these on hand.
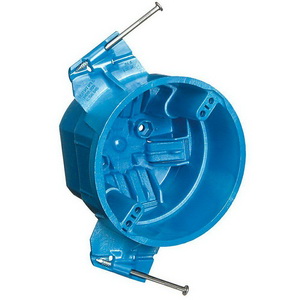
3-4 O Nail-Up Electrical Box
This is a combination of 3-O, and 4-O nail-up boxes. The O refers to the round shape and the 3-4 are for the spacing of the mounting holes. 3 for 3" and 4 for 4".
Round boxes are typically used in ceiling locations, but NOT for Fire Notification Devices. Strobes and Horn Strobes do not mount to a round box.
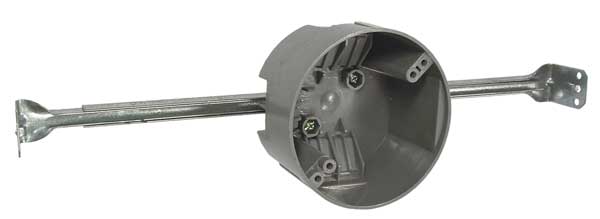
3 O Box on Spanner
To help keep devices centered in a hallway, you may need to use a box on a spanner. Spanners can be nailed or screwed to framing members. When centering a box against existing lighting or HVAC fixtures, be sure to measure or use a string to keep sight lines straight.
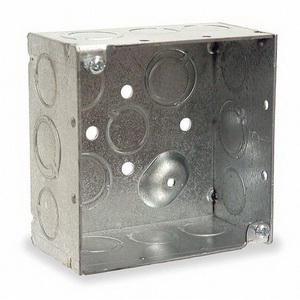 4 Square Deep Electrical Box
The mainstay of most commercial wiring is the steel electrical box. We use almost exclusively a 4 Square Deep box with 1/2-3/4" Knock Outs (KO). The box illustrated to the left is typically face-mounted to a wall after sheetrock or other wall surface material is installed.
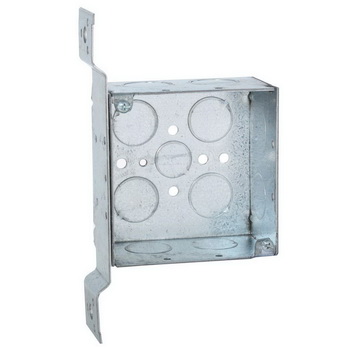 4 Square with FM Bracket
When installing 4 square boxes inside a wall to be covered, you need to use a box with a bracket. This box uses an FM bracket which can be secured to a wood or steel stud. A Hammer On bracket is easier to SET on wood framing.
IMPORTANT: When setting a box, make sure the face of the box is on the same plane as the face of the studs. If you are too far back, the faceplate thickness is compromised. If you are too far forward, the sheetrock will not rest properly against the studs.
Selecting the correct mud ring for a 4 square box is very important. Installing the mud ring so that the device mounting holes are vertical is just as important. Not all devices installed during trim have the ability to compensate for a crooked mud ring.
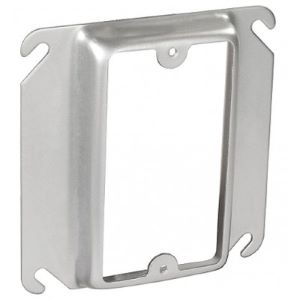
5/8 Mud Ring
Mud rings are available in a variety of depths. The most common are 5/8" and 1".
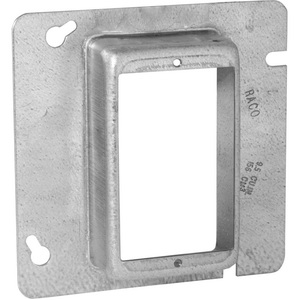 1" Mud Ring
Project planning is the key to selecting and having on hand the sizes required to complete your project. Look at the other trades, if they all have 1" mud rings then maybe you should too.
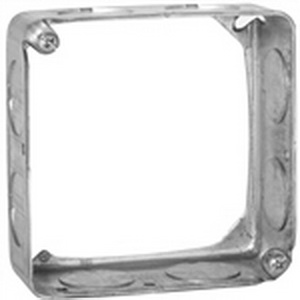 4 Square Extension
For applications where the device will install directly on a 4 square, you can install an extension ring and set the box accordingly to reach the required depth.
In some cases, you may need the whole 4 square area to route wires or mount equipment. Installing an extension so that it extends well past the finish wall surface forces drywallers to cut out for your hole.